HackTheBox – Monitors
Hello everyone ! I would like to present my walktrough of HackTHeBox Monitors which hard difficulty linux box.
I find this box really hard, but it was really great opportunity to learn.
I really like the complexity of this box including exploiting multiple vulnerabilities, pivoting and abusing cap_sys_module container capability in order to escape from docker environment.
Let’s get straight to the business.
Initial enumeration:
nmap scan:
PORT      STATE    SERVICE    VERSION
22/tcp    open     tcpwrapped
|_ssh-hostkey: ERROR: Script execution failed (use -d to debug)
80/tcp    open     tcpwrapped
7911/tcp  filtered unknown
40911/tcp filtered unknown
50003/tcp filtered unknown
Device type: firewall
Running (JUST GUESSING): Fortinet embedded (87%)
OS CPE: cpe:/h:fortinet:fortigate_100d
Aggressive OS guesses: Fortinet FortiGate 100D firewall (87%)
No exact OS matches for host (test conditions non-ideal).
When I tried to access service on port 80 i get:

After adding monitors.htb to /etc/hosts:

After enumeration i found that there is no interesting content on this site, but wappalyzer showed that it’s wordpress.

Like always I used wpscan for wordpress enumeration:

It has shown many vulnerabilities since it’s old machine. I found one of them very interesting:

It seems that this wordpress site uses wp-with-spritz module which is vulnerable to LFI vulnerability.

Let’s check this out:

Using LFI we can enumerate http server configuration:

Comments at the top of 000-default.conf file indicates existence of two separate sites configurations.


According to these informations we have two paths to go:
- Enumerate wordpress configurations files in order to get database credentials and other potentially useful information.
- Enumerate site: cacti-admin.monitors.htb
Firstly I went for wordpress enumeration and i found db credentials: wpadmin:BestAdministrator@2020!

I checked if I can use password of wpadmin to log in to wordpress as wpadmin, admin and administrator but it did not work. I also checked if I can access ssh as marcus user with this password but it did not work too.
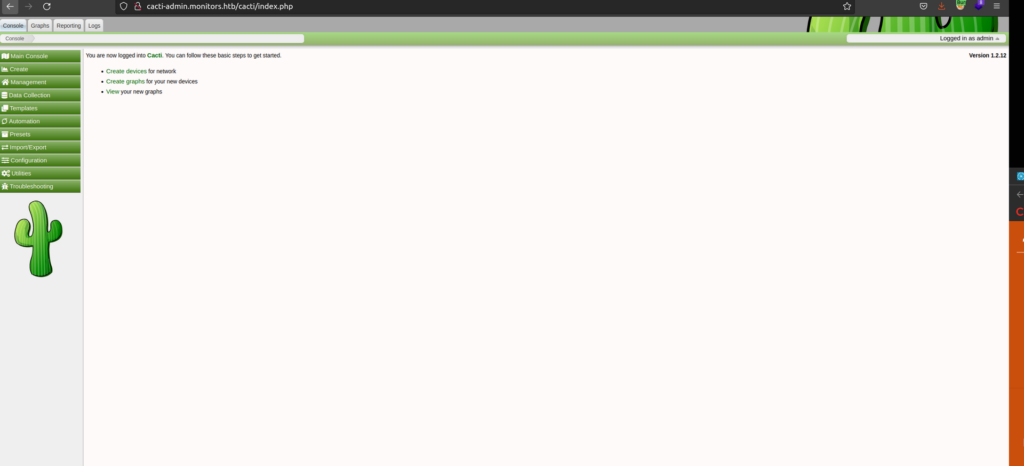
Nextly I added cacti-admin.monitors.htb to /etc/hosts and checked this website:

Previously found credentials worked here – password 'BestAdministrator@2020!’ combined with admin user.

Authenticated SQL Injection – RCE
I have to admin that I could not find any valuable information on this cacti site, but i found that this version of cacti 1.2.12 is vulnerable to sql injection which leads to RCE – CVE-2020-14295
https://www.exploit-db.com/exploits/49810
https://github.com/Cacti/cacti/issues/3622
General this script abuses file color.php by injection of sql statement into filter parameter.

It uses union sql injection to get credentials from user_auth table.
Nextly it utilizes stack queries to inject shell payload to replace the path_php_binary setting.

Nextly it calls host.php?action=reindex which executes shell code.

Shell as marcus:
After getting initial foothold I wanted to get wordpress admin password. From linpeas scan we know that there is mysql service on port 3306, but it can only be accessed from localhost.

I performed 3306 port forwarding using chisel:

Now we can enumerate database:

Unfortunately I found this password uncrackable. We can change it but I think we’ll go for it if we have no other choice.
Nextly I enumerated cacti database:

There is one only user – and we know his password.
After looking at linpeas scan again i found interesting file that stood out:


Content of this file indicates that we should have acess to read script /home/marcus/.backup/backup.sh
In backup file we can find credentials. Found password worked for marcus – marcus:VerticalEdge2020

I got user flag:

Shell as root – docker
From previously mentioned linpeas scan I also get information about Tomcat Reverse Proxy running on docker, and it’s accessible on port 8443.
I used chisel again to perform port forwarding:


When I tried to access tomcat using curl I get:

I decided to use gobuster to perform tomcat directory enumeration:

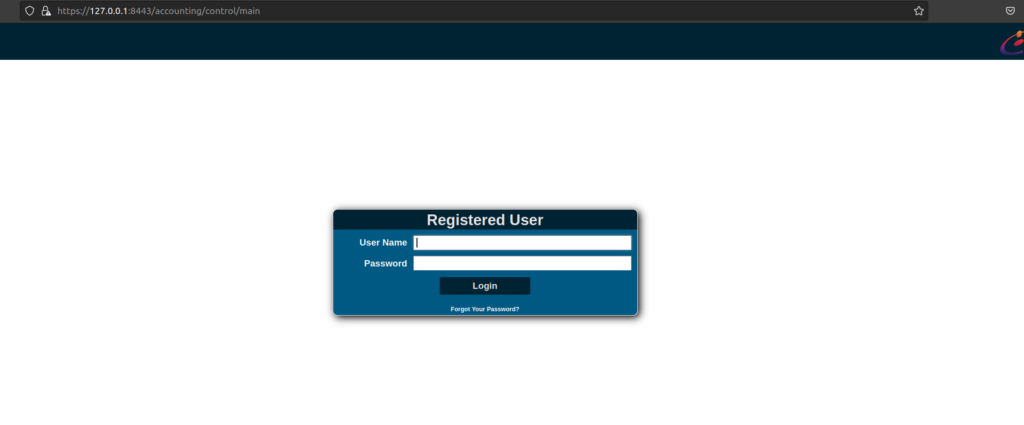
Account directory seemed quite interesting to me:

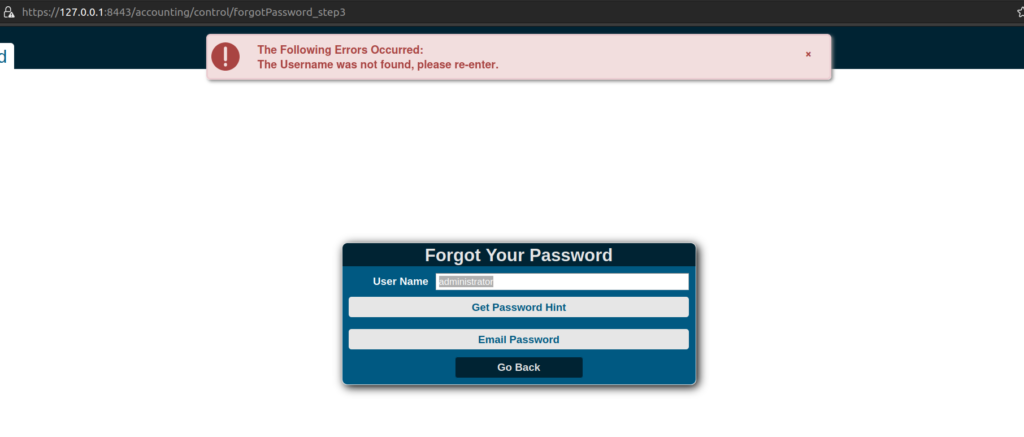
I found out that 'Forgot Password’ functionality enable us to perform user enumeration:

Common credentials anf credentials that i previously found did not work so that I went for investigation of server responses in burp.
I found that tomcat uses Apache OFBiz 17.12.01.

After googling around this version of Apache OFBiz we mat find it’s vulnerable to RCE CVE-2020-9496.
General point of that exploit is the fact that we can perform XMLRPC request before authentication.
As part of this processing, any serialized arguments for the remote invocation are deserialized, therefore if the classpath contains any classes that can be used as gadgets to achieve remote code execution, an attacker will be able to run arbitrary system commands on any OfBiz server with same privileges as the servlet container running OfBiz.
source: https://securitylab.github.com/advisories/GHSL-2020-069-apache_ofbiz/
I found exploit for that version:
https://packetstormsecurity.com/files/163730/Apache-OfBiz-17.12.01-Remote-Command-Execution.html
I run this exploit. It worked !

Shell as root – docker escape
Since we’re in docker environment we should start with checking container capabilities:

There is one dangerous capability – cap_sys_module. It enable us to load kernel module.
I found interesting article about docker escape:
https://xcellerator.github.io/posts/docker_escape/
This article present how to obtain RCE by loading custom module and exploiting call_usermodehelper kernel function. In our case i had to modify his script to make it work, since it produced some error during compilation:

After changing functions name I was able to compile it, but the compiled binary instead of executing system commands resulted in segmentation vault:

I decided to simplify the exploit and modified it to run just one hardcoded command.
Firstly i modified it to execute ping command:


Let’s check if it works:

Nextly I changed command to:

Final files looked like this:

I got root user access:

At the end i would recommend everyone to read this series of articles:
https://xcellerator.github.io/posts/linux_rootkits_01/
Author of this blog explains very well the process of creating linux rootkits.


